Annotations
Wonambi allows you to add annotations to your signal, such as sleep staging and signal quality (epochwise), highlighted events, cycle markers and bookmarks.
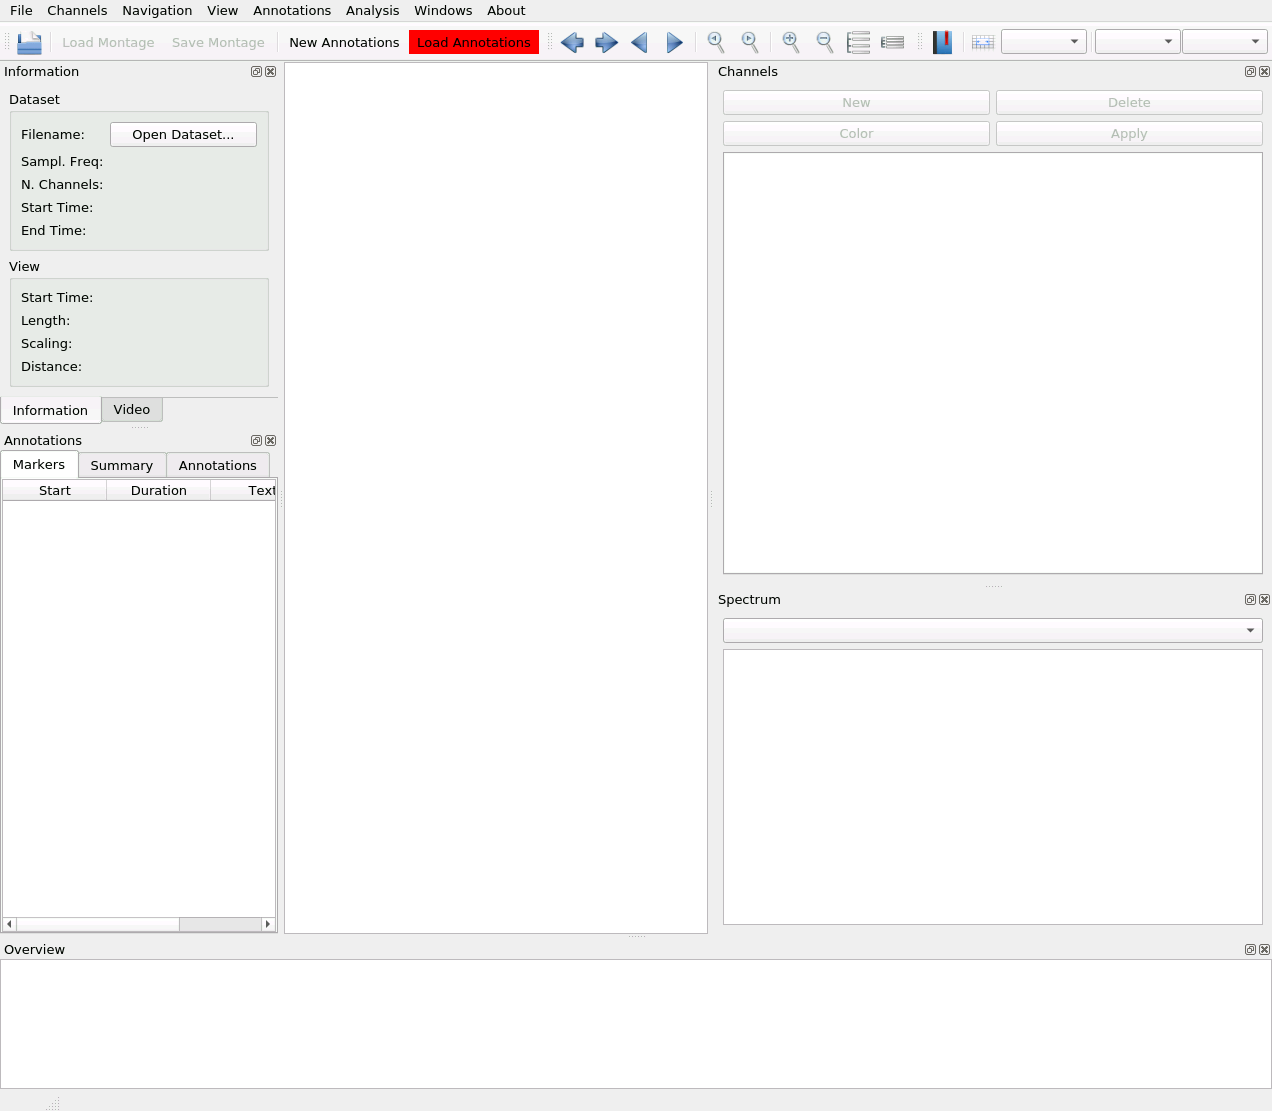
You must first create an Annotation File, by clicking on New Annotations.
You will be asked to provide a rater name. Annotation Files are divided into separate raters. Use the Annotations -> Rater menu to create new raters and switch between them.
To load previously created annotations, click on Load Annotations:
Import sleep staging from an external source
Wonambi can import sleep staging from files generated by Alice, Compumedics, Domino, FASST, PRANA, RemLogic or Sandman.
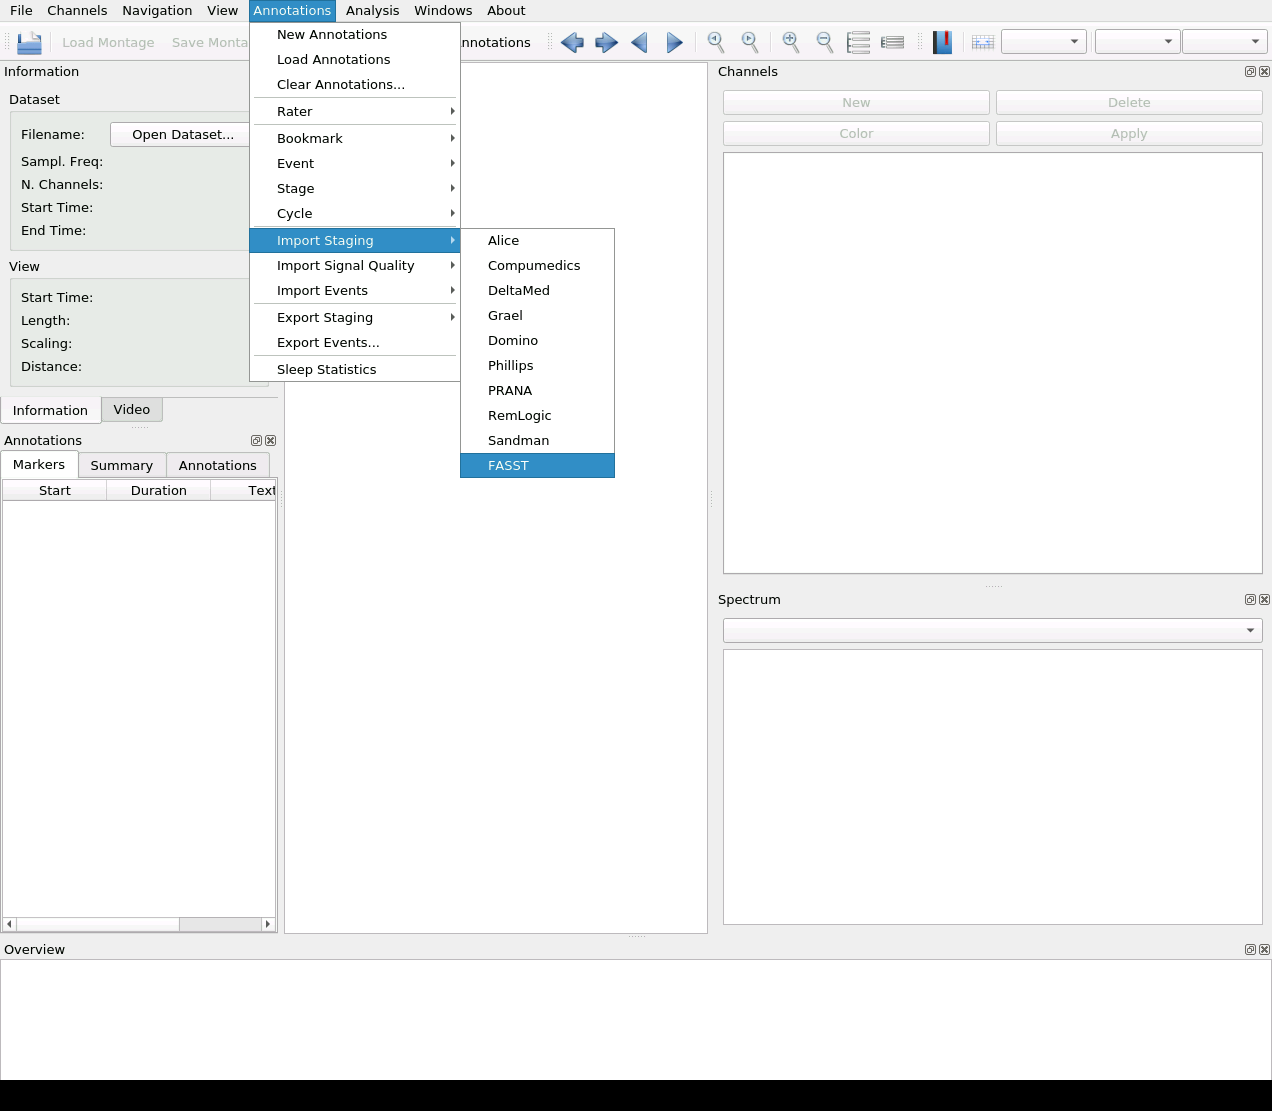
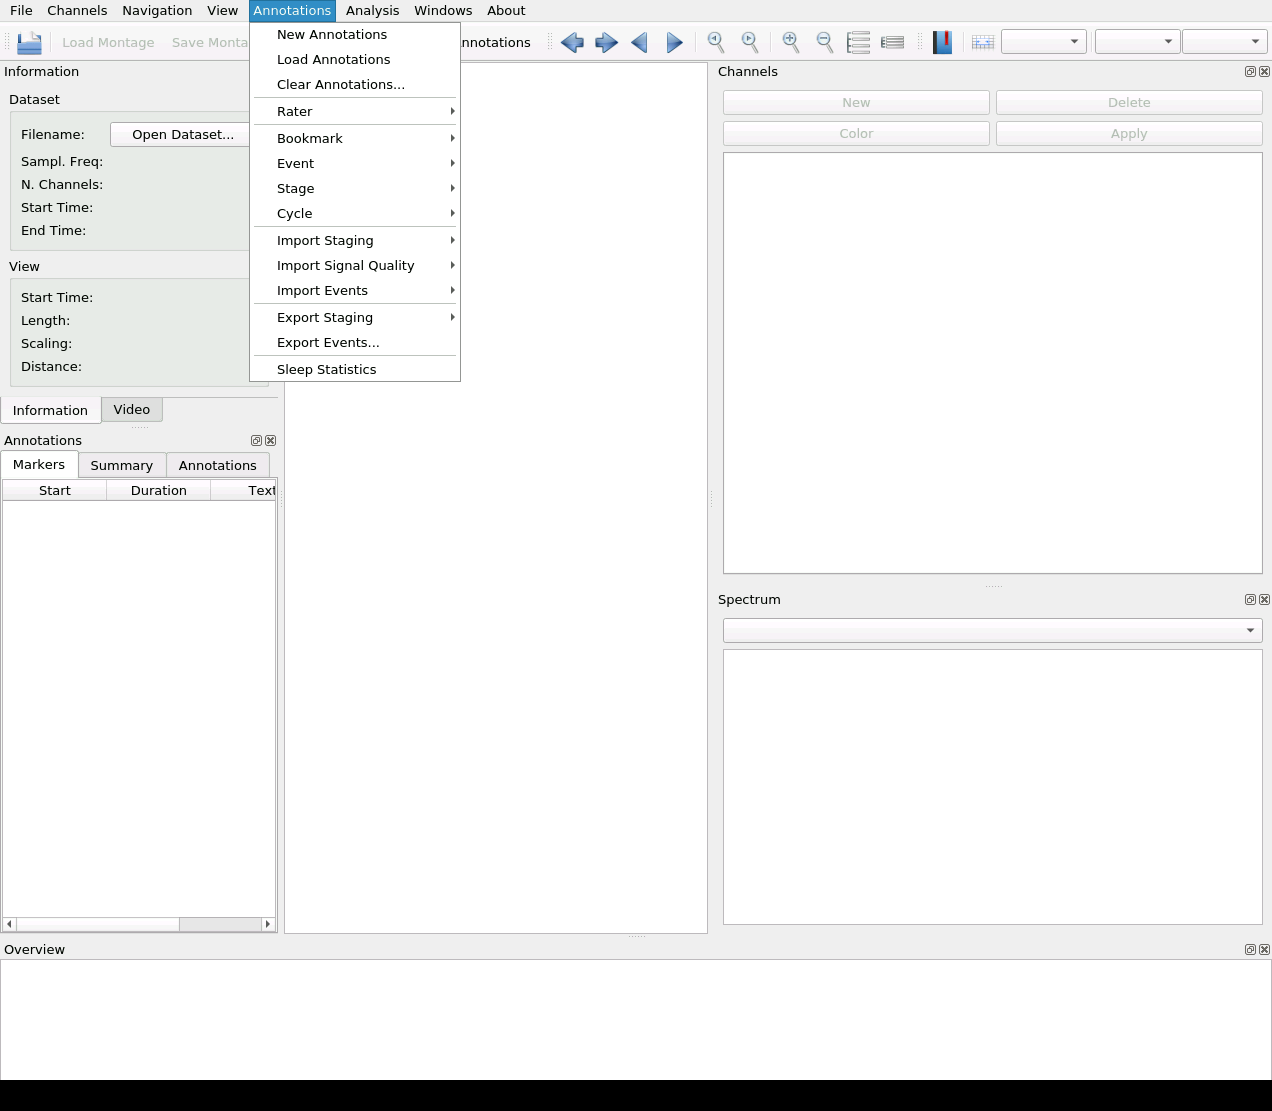
To import external sleep staging, click on Annotations -> Import staging, and select the source program:
For Compumedics staging, you will be prompted to provide the staging start time.
For all sources but FASST, you will be asked to provide a rater name, under which to save the staging in the Annotation File. You may create a new rater or overwrite the staging in an existing one.
For FASST staging, you’ll first be asked to load the .mat file containing the FASST sleep scores. Then you’ll need to indicate where to save the annotations in .xml format.
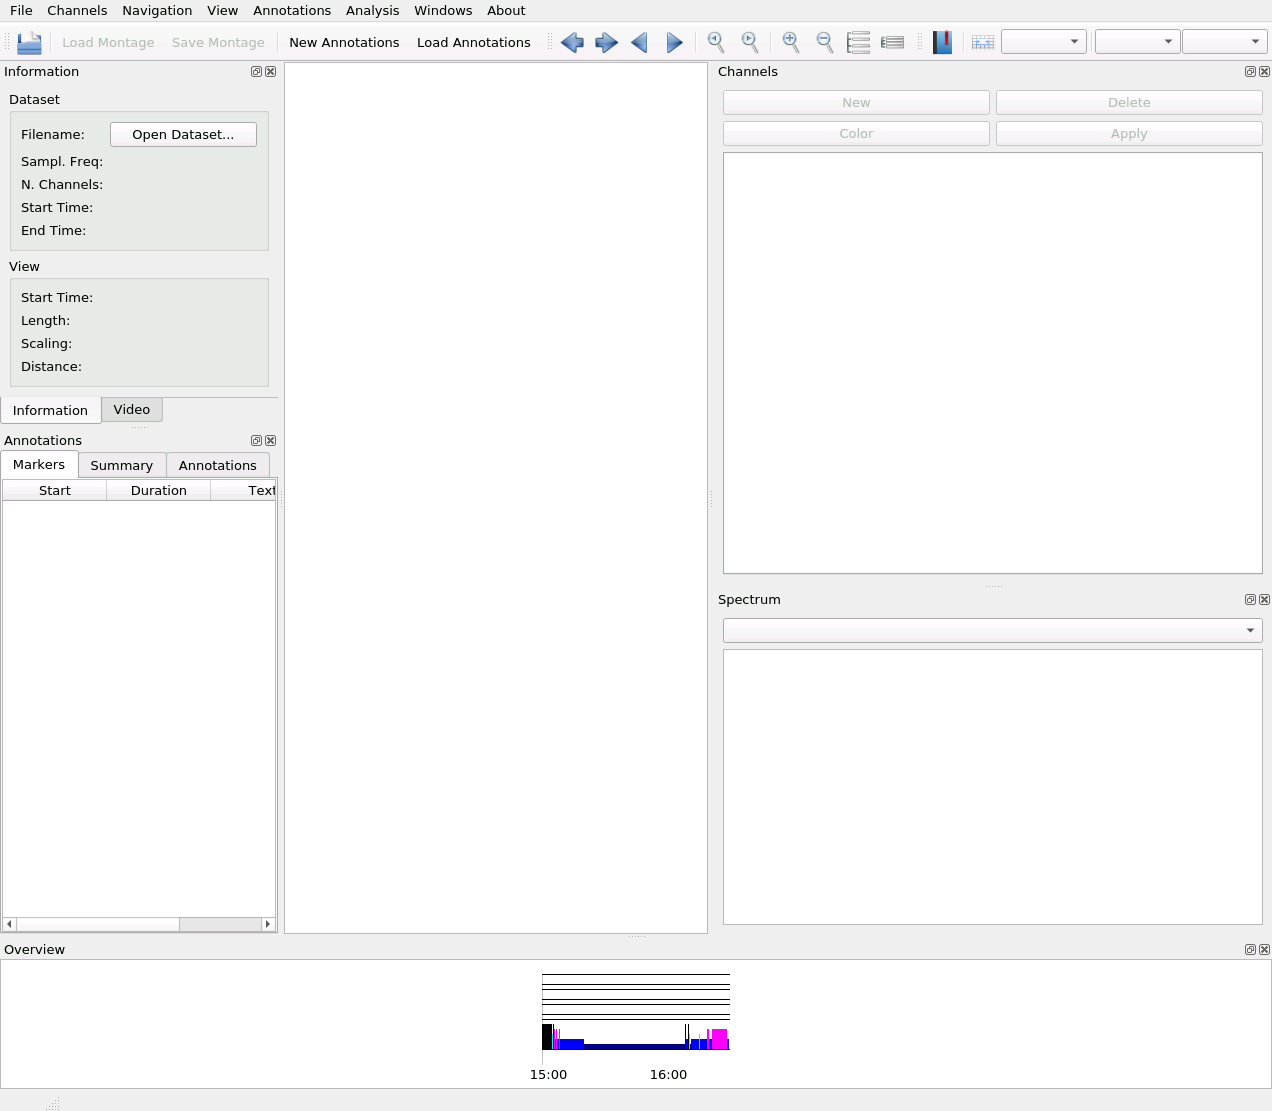
If importation is successful, the converted sleep staging will appear in the Overview panel:
For RemLogic staging, make sure you select the following options when exporting from RemLogic:

Stage sleep
You can also stage sleep within Wonambi. First, make sure you are lined up with an epoch. Make sure you are zoomed to the 30-s view with View -> Window length –> Set to 30.0.
If you are not lined up with the epoch start, click on Navigation –> Line Up with Epoch.
Now you can use the Annotations -> Score menu or the associated keyboard shortcuts to stage sleep per epoch.
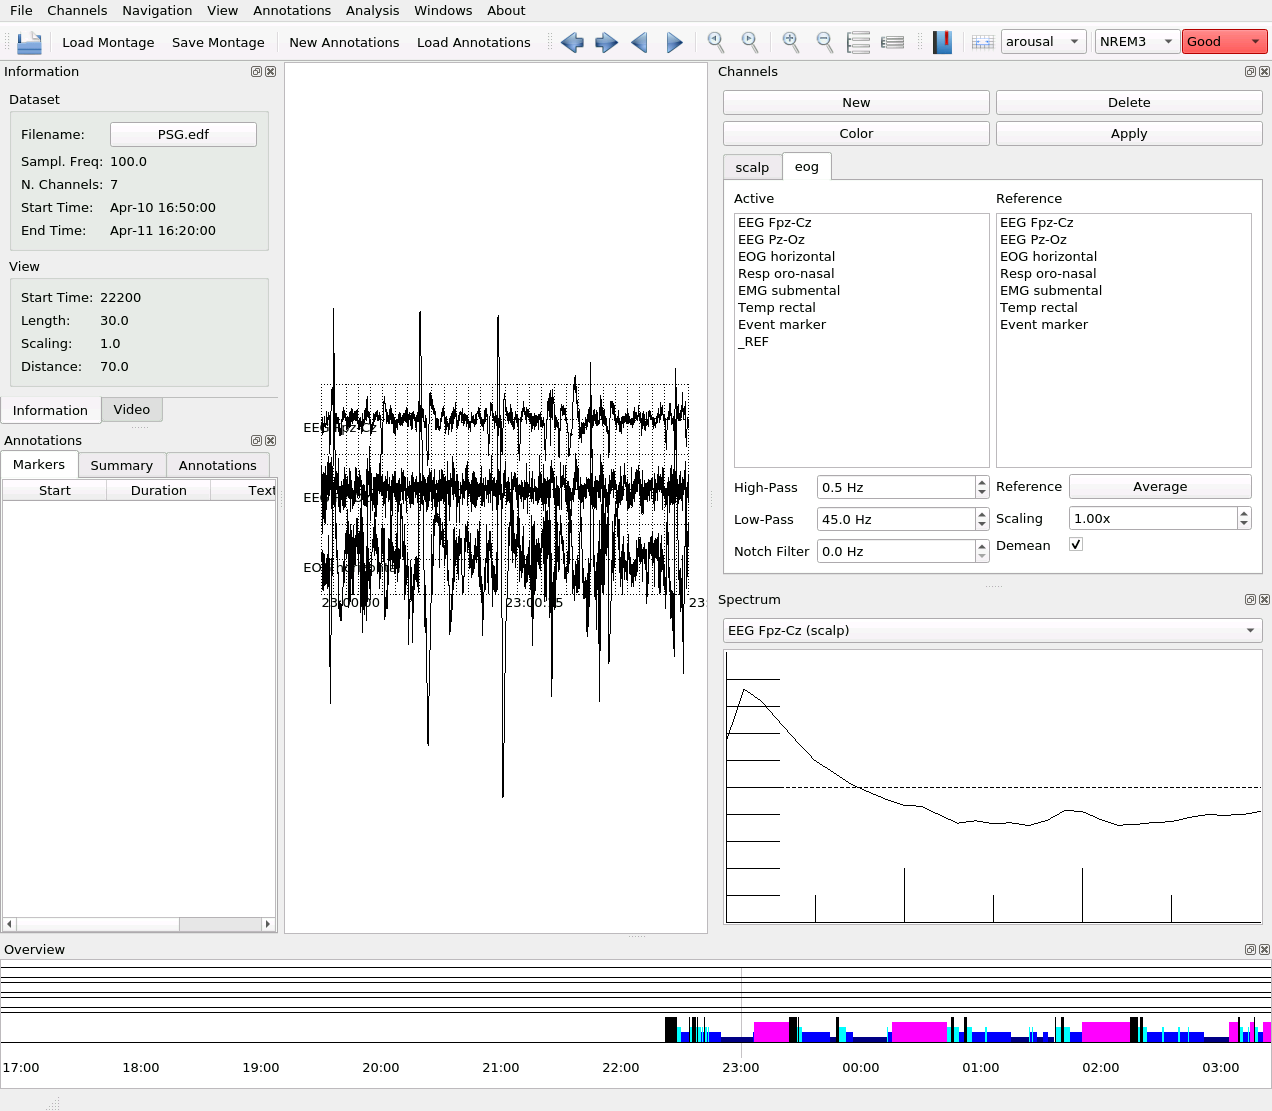
Alternatively, you can select a stage from the Stage Box:
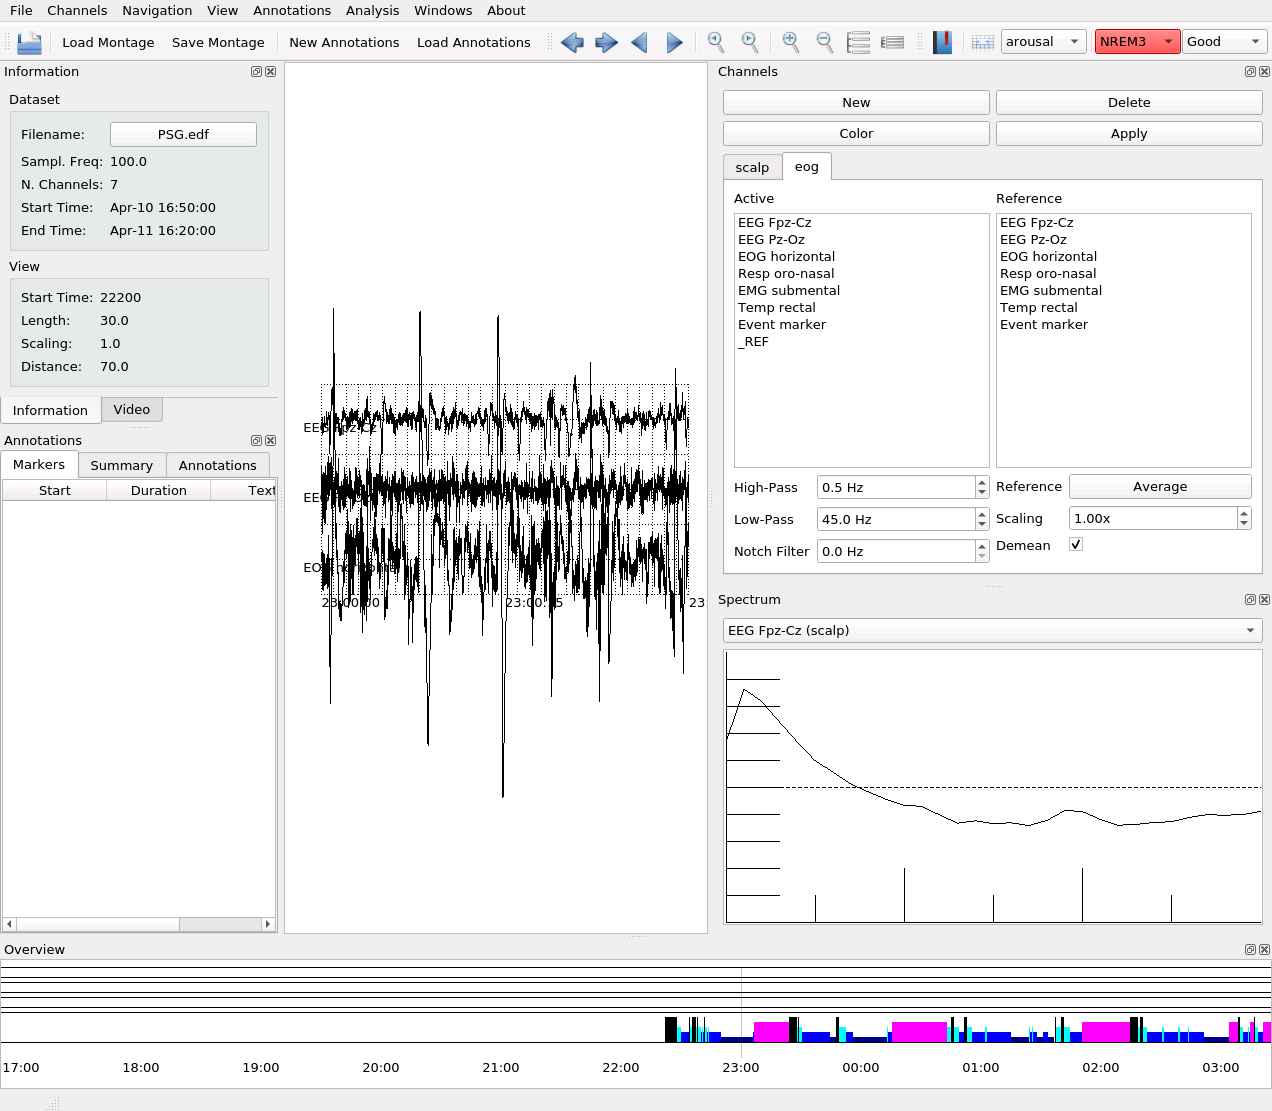
The Stage Box always displays the stage of the current epoch (as long as you are lined up with one).
Wonambi provides two parallel sleep scoring tracks: one for sleep stages, the other for signal quality. The idea is to keep sleep annotation separate from signal annotation, so that signal quality does not affect physiological parameters like sleep efficiency and relative stage durations.
We recommend that you first stage sleep, disregarding signal quality
(except of course when it is unintelligible, in which case you can mark it as Artefact).
Then, you can make a second pass only evaluating signal quality, using the o and p keys for Good and Poor signal, respectively.
Similarly to the Stage Box, the Quality Box displays the quality of the current epoch, and can be used to change it:
Epochs marked as Poor signal are excluded from Analysis, namely event detections and tools in the analysis console.
Epochs staged as Artefact are automatically marked as Poor signal.
You can view staging and signal quality summary parameters by clicking Summary in the Annotations panel.
Mark cycles
The stages of sleep are normally segregated into cycles (N1; N2; N3; then REM). After staging, you can segment the hypnogram into cycles for use in analysis.
To mark a cycle start, line yourself up with the first epoch of the cycle and click on Annotations -> Cycle -> Set cycle start.
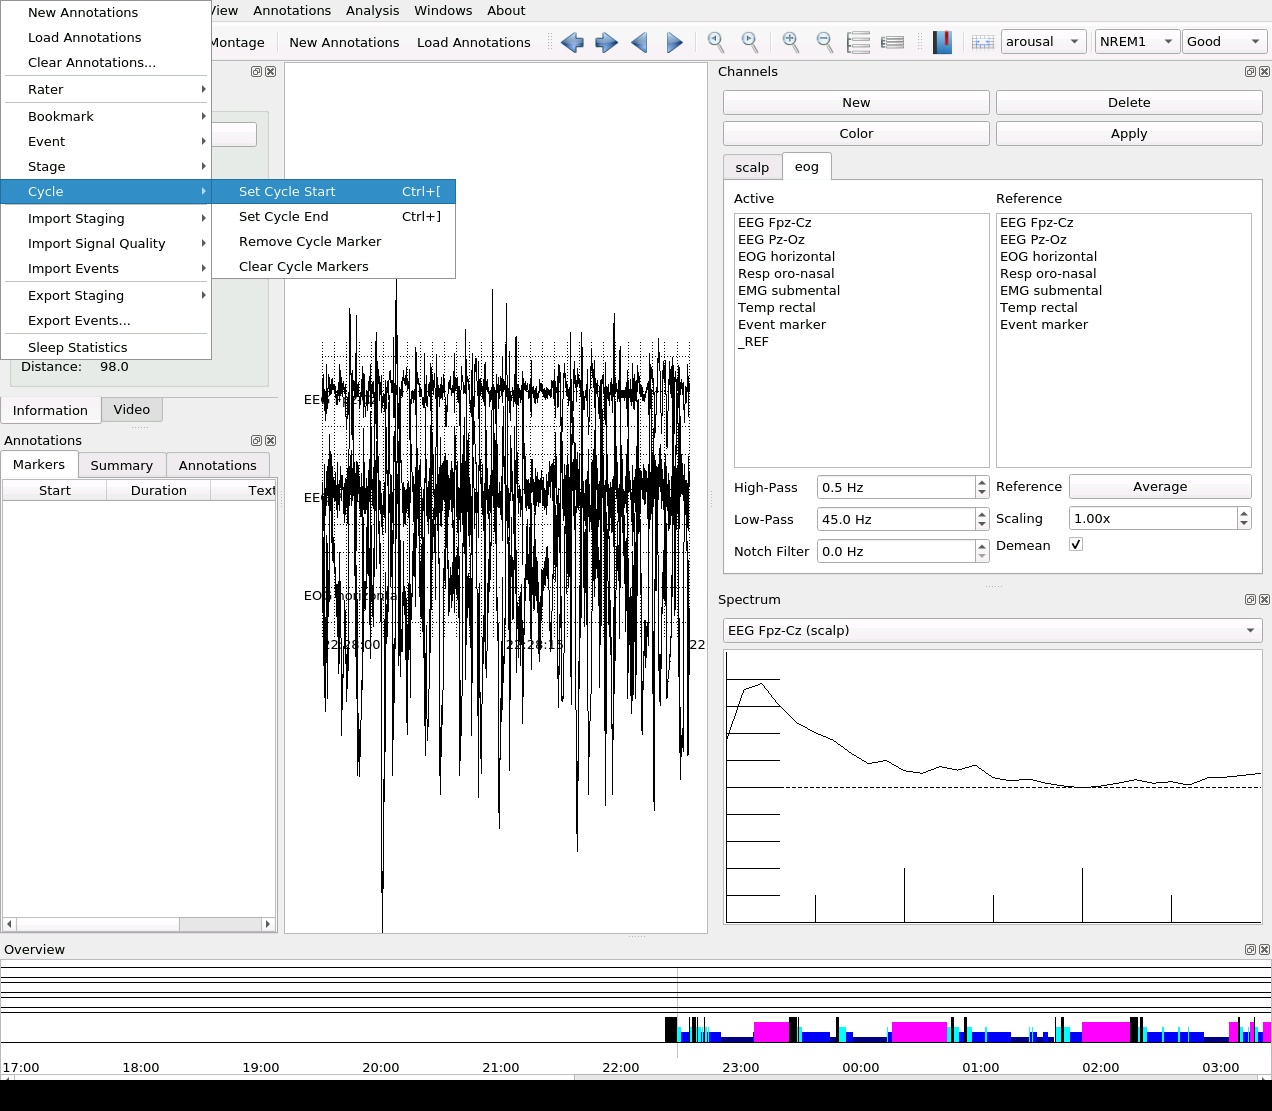
A cycle start marker will appear as a red square bracket on the Overview panel:

To mark a cycle end, line yourself up with the first epoch after the end of the cycle. Here, you can either use Set cycle end or, if this epoch is the start of the next cycle, simply use Set cycle start again.
Repeat for each cycle, and make sure to mark the end of the last cycle with Set cycle end. Omitting this will result in illegible cycle data.

To remove a cycle marker, line yourself up with that epoch and click Annotations -> Cycle -> Remove cycle marker.
You can clear all cycle markers in the rater profile with Annotations -> Cycle -> Clear cycle markers.
Mark events
In addition to epoch annotation, Wonambi allows you to mark events of varying duration directly on the trace.
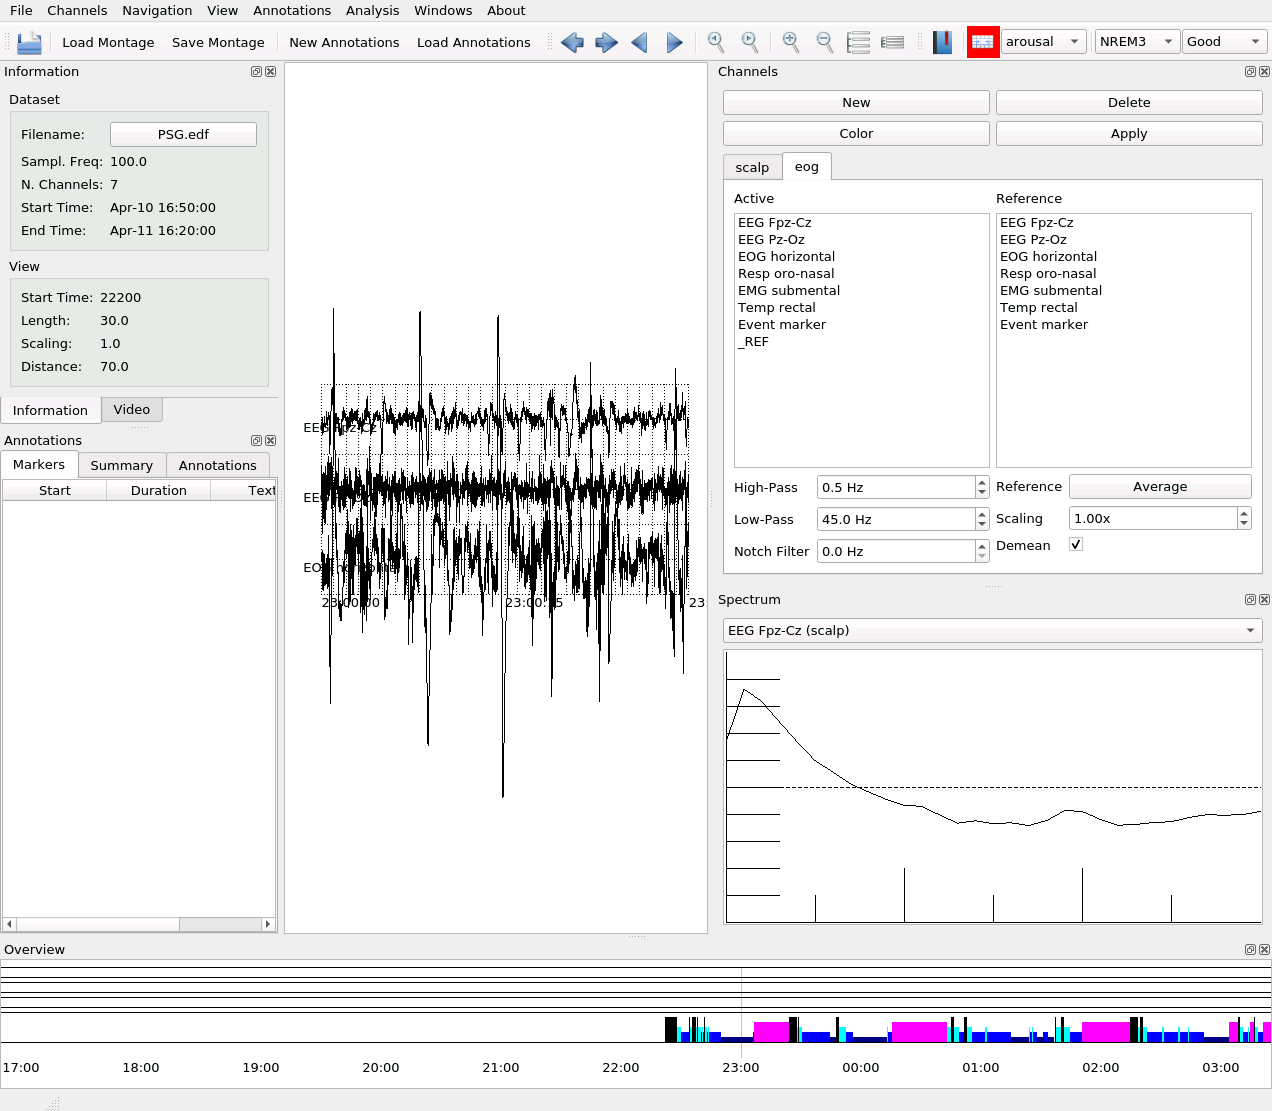
To mark an event on the trace, enter event edit mode by clicking on the Event Mode icon:
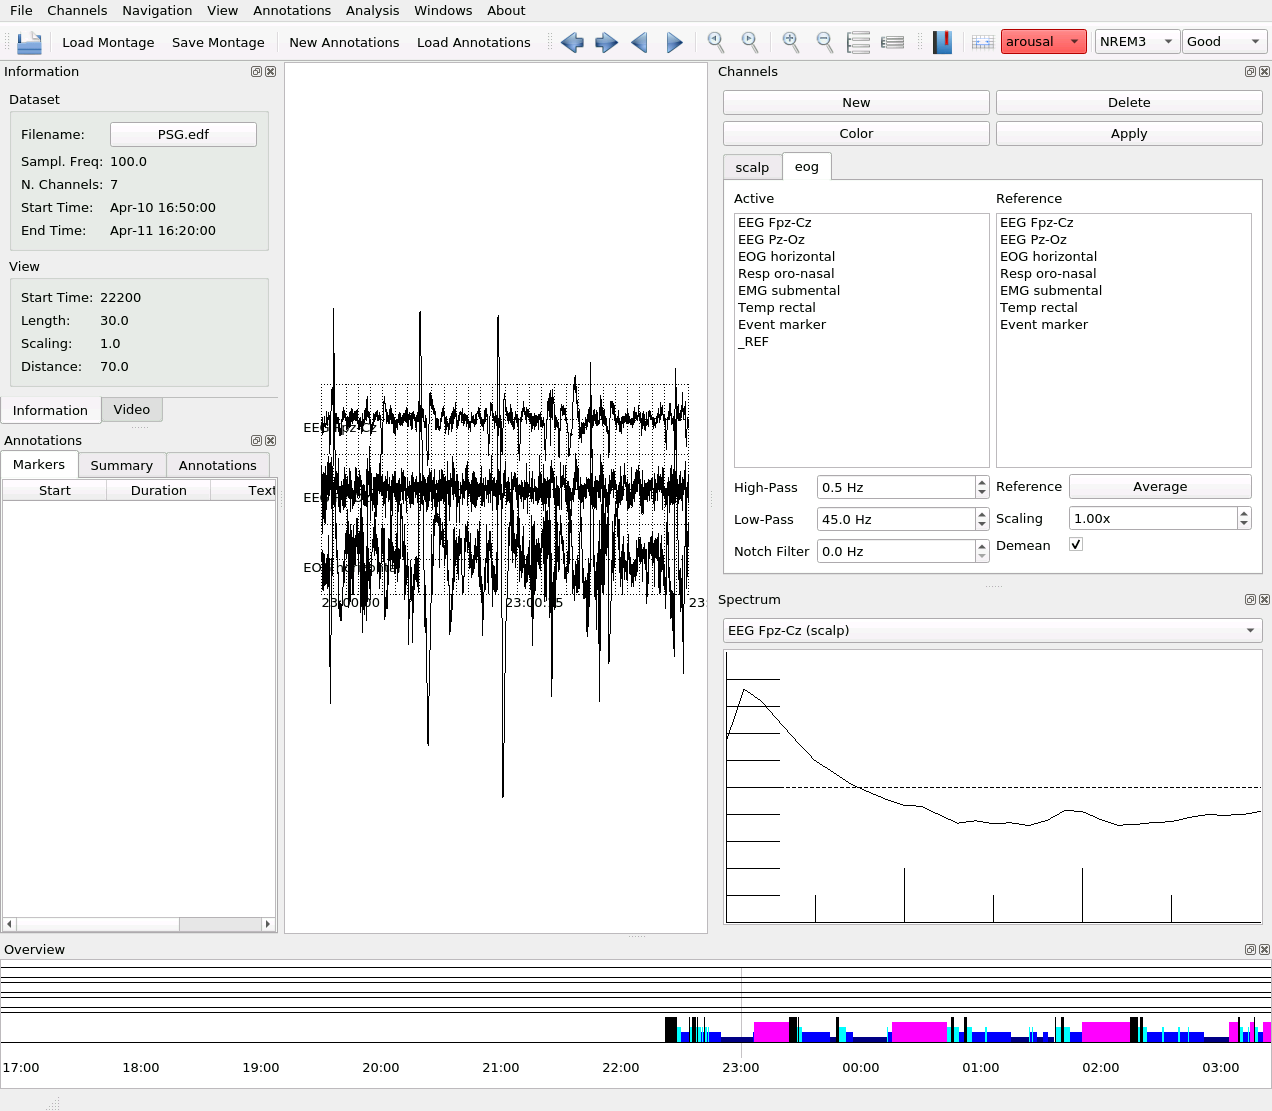
Next, select an event type in the Event Type box:
You can create a new event type with Annotations -> Event –> New Event Type.
Now, click and drag along a segment of the signal from the desired channel to create a new event:
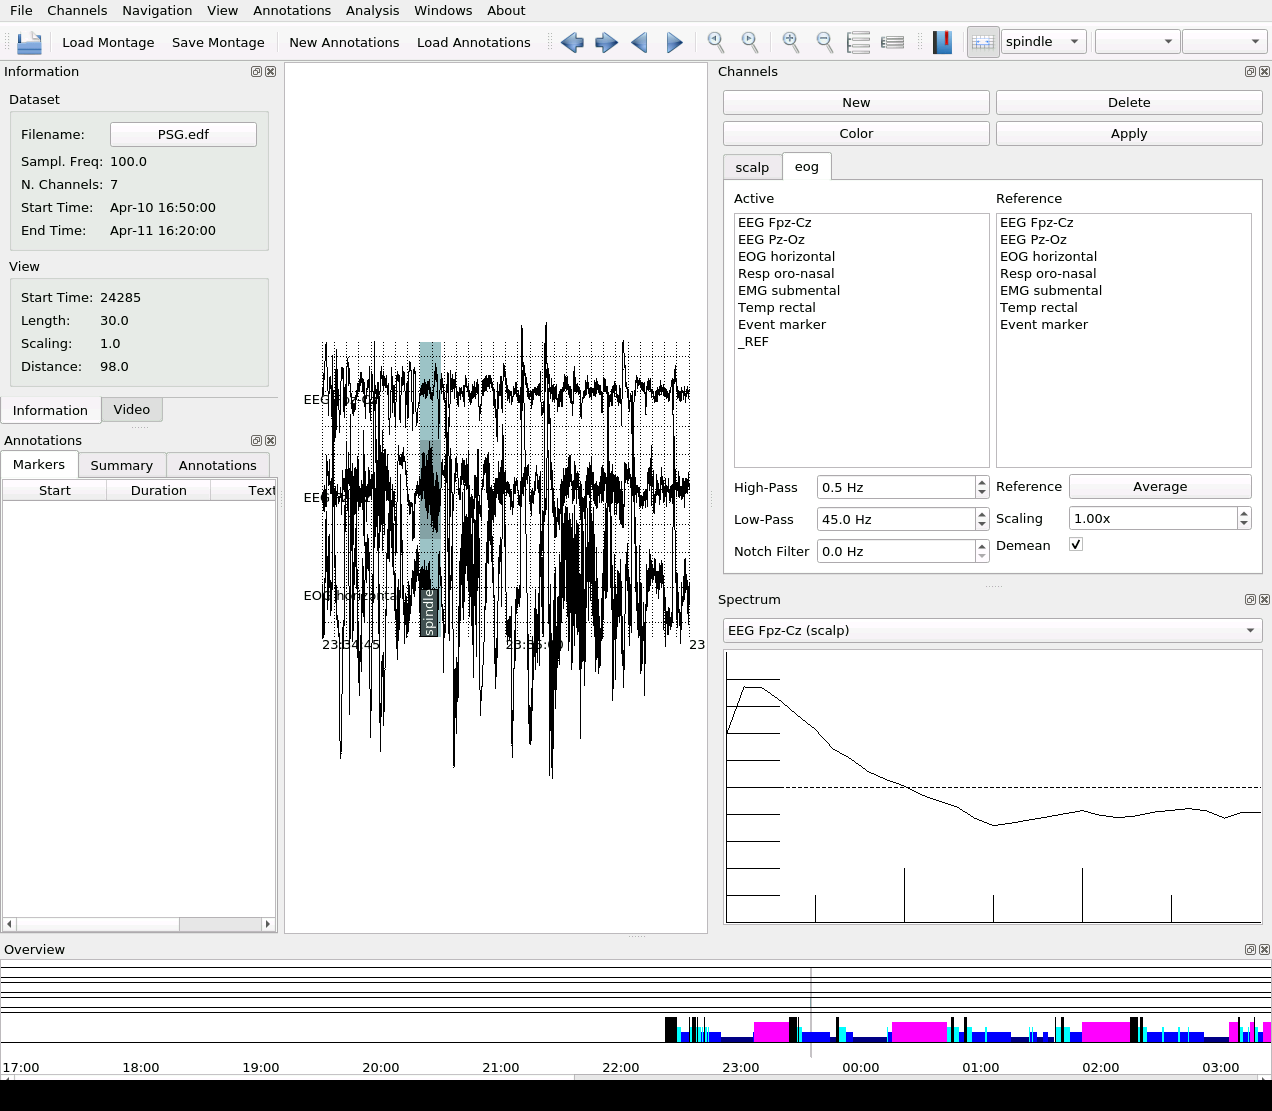
Events belong to the channel on which they were marked, and appear as a darker colour on that channel. The colours themselves are automatically generated from the event label text.
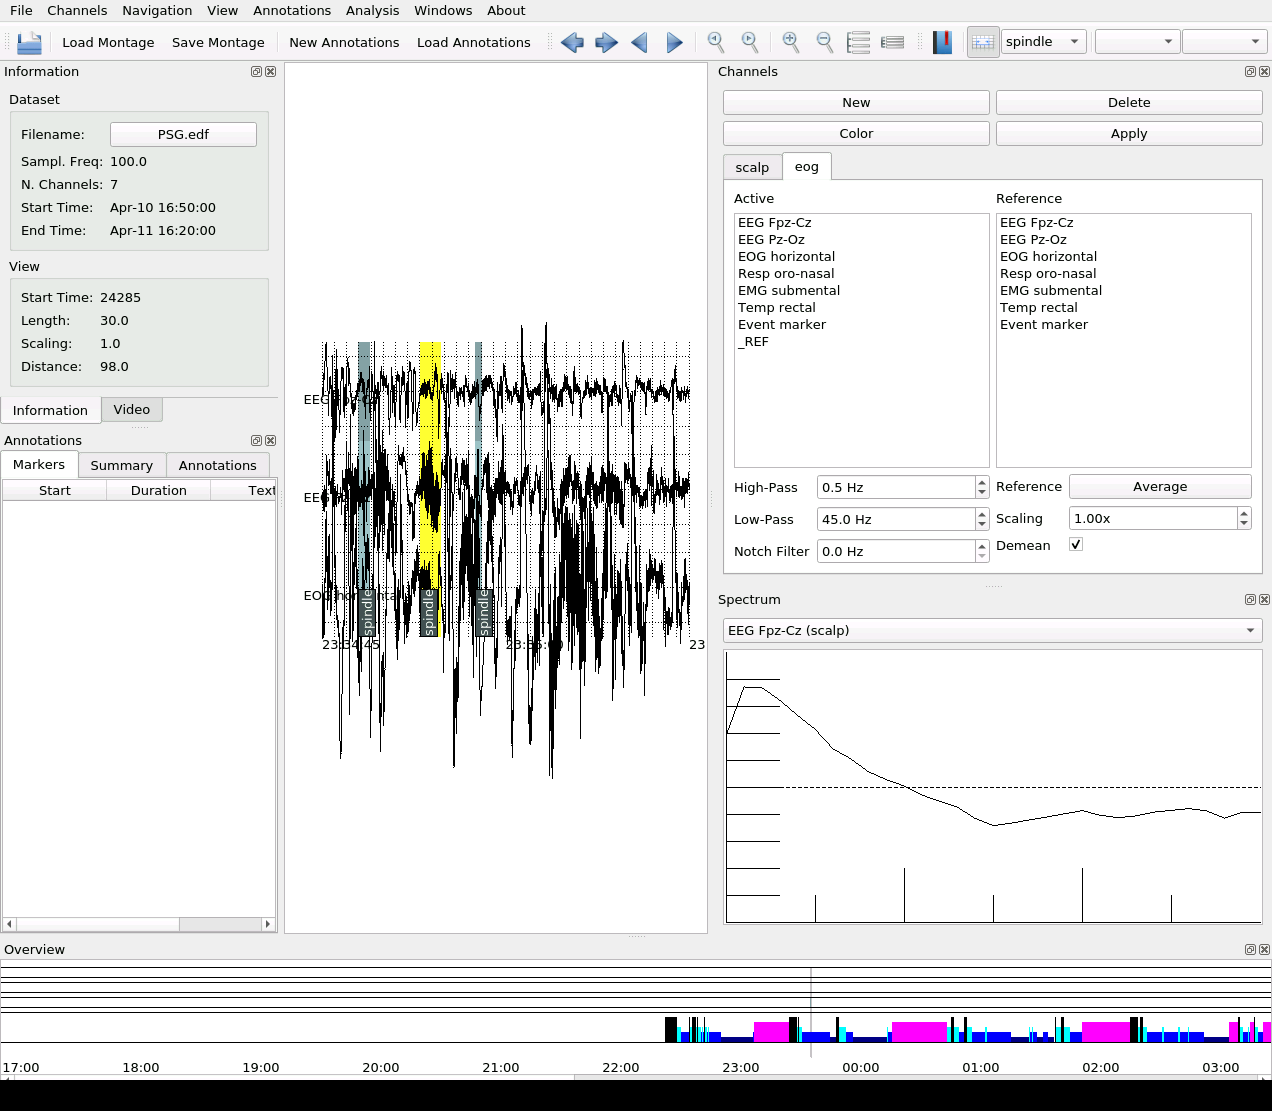
By default, the events are also highlighted on all other channels in a lighter colour. You can disable this option by toggling View -> Full-length markers.
To delete an event, make sure you are in event edit mode, and click on it, so that it becomes highlighted in bright yellow:
Now press the Delete key. Note: The event will be removed from both the trace and the Annotation File.
Events are visible both highlighted on the trace and in table form in the Annotations tab of the Annotations panel.
Double-click on an event in the table to jump to its position on the trace.
You can also delete an event from the table by clicking it and pressing the Delete button below the table.
Mark artefacts
Events marked using the event type Artefact are used for data exclusion in analysis.
For detections and analysis, if the artefact exclusion option is selected, artefacts marked on any channel will exclude concurrent signal on all channels.
To mark Artefact events, click on Annotations -> Event –> New Event Type and type in Artefact.
Then in Event Mode, mark the artefacts on any channel in the channel group.
This channel must still be in the channel group at the moment of detection or analysis in order for the artefact events to be found.
Export sleep scores as csv
You can export the current sleep scores as .csv file to disk.
To do so, click on Annotations -> Export staging:
then select the file where you want to store the sleep scores.
Export sleep statistics as csv
You can export some sleep statistics (such as Total Sleep Time, WASO, etc) as .csv file to disk.
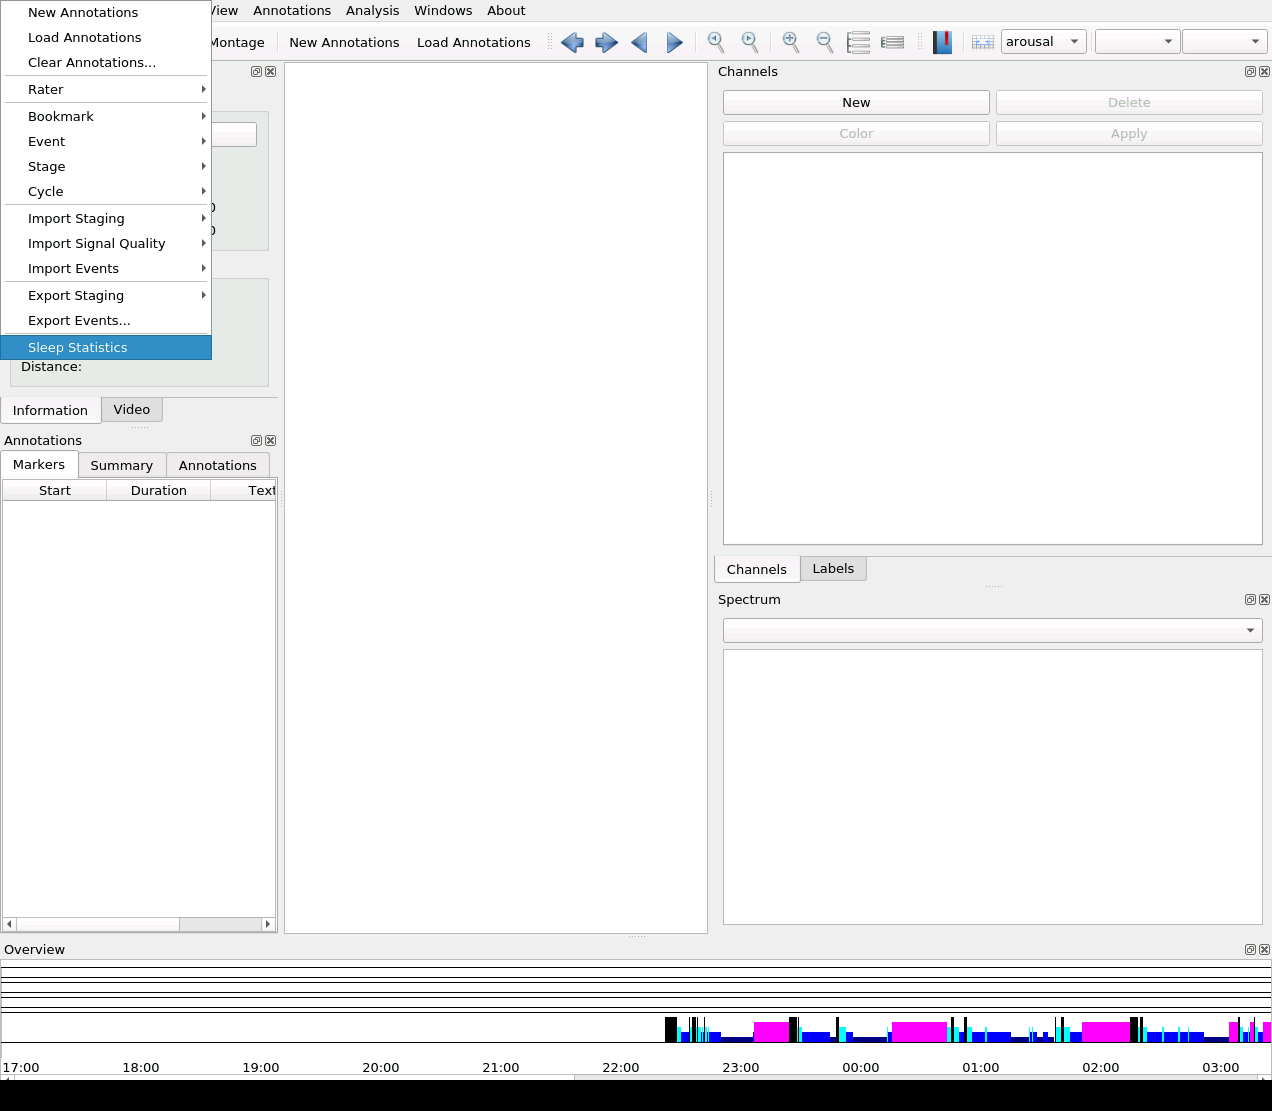
To do so, click on Annotations -> Sleep statistics:
then select the file where you want to store the sleep scores.
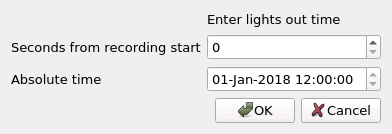
In addition, you need to specify at what time the lights went off (Lights OUT) and when the lights went on (Lights ON):
Note
Lights OUT and Lights ON are to be used as delimiters of the time spent intending to sleep, not as markers of actual luminosity change in the room.
Warning
If any epochs are scored as sleep before Lights OUT or after Lights ON, sleep efficiency may exceed 1.
Import markers as events
Some EEG file formats such as Brain Vision come with timeline markers, and these are automatically displayed in Wonambi. Markers are immutable, so if you would like to modify them in Wonambi, you’ll need to convert them to events, which are saved in the Annotations File.
To do this, make sure you have an Annotations File loaded. Now click Annotations -> Event -> Markers to events and choose among the options.
To convert all markers into a single event type, select New name, and enter the event type name when prompted.
To convert markers into new event types named from the marker labels, select Keep marker names.
A new event type will be created for each unique marker label.
Merge events
You may want to merge events outside of the automatic detection process. For instance, you may want to merge spindles detected by different algorithms, or you may want to merge manually marked events with automatically detected ones.
To do this, click on Annotations -> Event -> Merge Events... to open the merge events dialog:
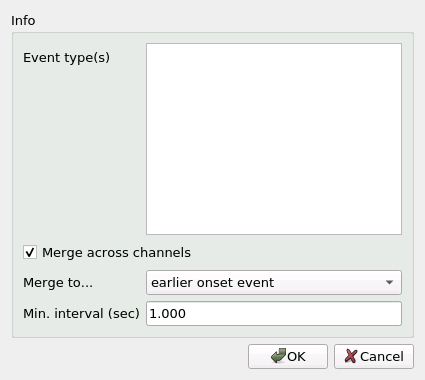
You may choose to merge events from one or several event types using the Event type(s) box.
If you select several, you will be prompted to provide a label for the new event type created by the merger.
Note
The selected event types will be deleted and replaced with the new event type.
Events marked within a same channel will be merged if they are separated by up to a certain interval.
This interval is set with Minimum interval.
In addition to merging events from within a same channel, you may choose to merge events marked on different channels.
To do so, check the Merge across channels box.
With this option checked, events on any channel separated by Minimum interval or less will be merged.
When events are merged across channels, only one channel keeps the event.
That channel can either be the one that had the earliest onset event, or the longest event.
You can choose the channel selection rule with the Merge to... drop-down menu.